Our self-adhesive bumpers can be used on a variety of projects, from homemade picture frames to DIY kitchen cabinet protection. So dust off the cobwebs from your Pinterest boards! You pinned that DIY project six months ago while daydreaming of warmer climates, and they’ve finally arrived.
Go outside and grab some inspiration from the blooming flowers for your springtime DIY craft. Luckily, the Bumper Specialties’ Pinterest boards have no shortage of ideas in which you can gain inspiration or build something of your own creation; whichever you choose, make sure you bring bumper feet with you.
There are DIY drink coaster projects on Pinterest that use clear rubber feet. This project in particular uses a stencil to imprint an image on the glass coaster. Their final but most important step is putting rubber feet on the underside of the tile!
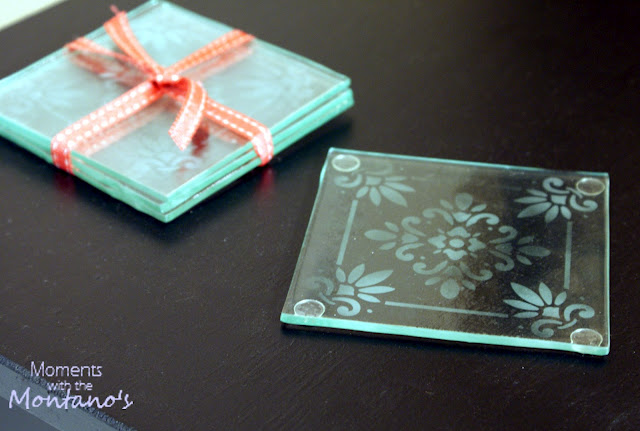
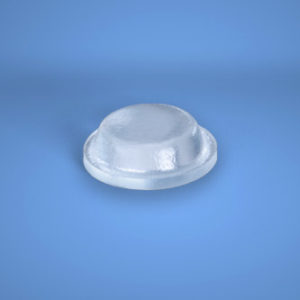
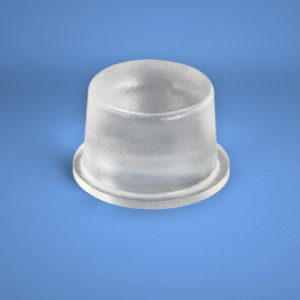
Rubber feet are the unsung heroes of these projects. You might not be able to see them, but affixing rubber pads on the corners of your coasters ensures the longevity of your handiwork. Bumpers are especially important for glass or ceramic coasters because they will not scratch, mar, stain, or otherwise ruin your tabletop. Try an inconspicuous clear hemispherical bumper like our BS-12 that will blend seamlessly with the aesthetic of the coaster.
Buzzfeed published a list of DIY ceramic coasters perfect for a spring afternoon project. We especially like #8, check out the cool watercolor effect you can achieve using markers. You can also use things you find around the house, like old doilies or a burlap bag.
Once you’ve completed your project, head to your patio and enjoy your coasters with a nice glass of lemonade and let the vitamin D – and the gratification of accomplishment – wash over you.